The Art of Roasted Peppers
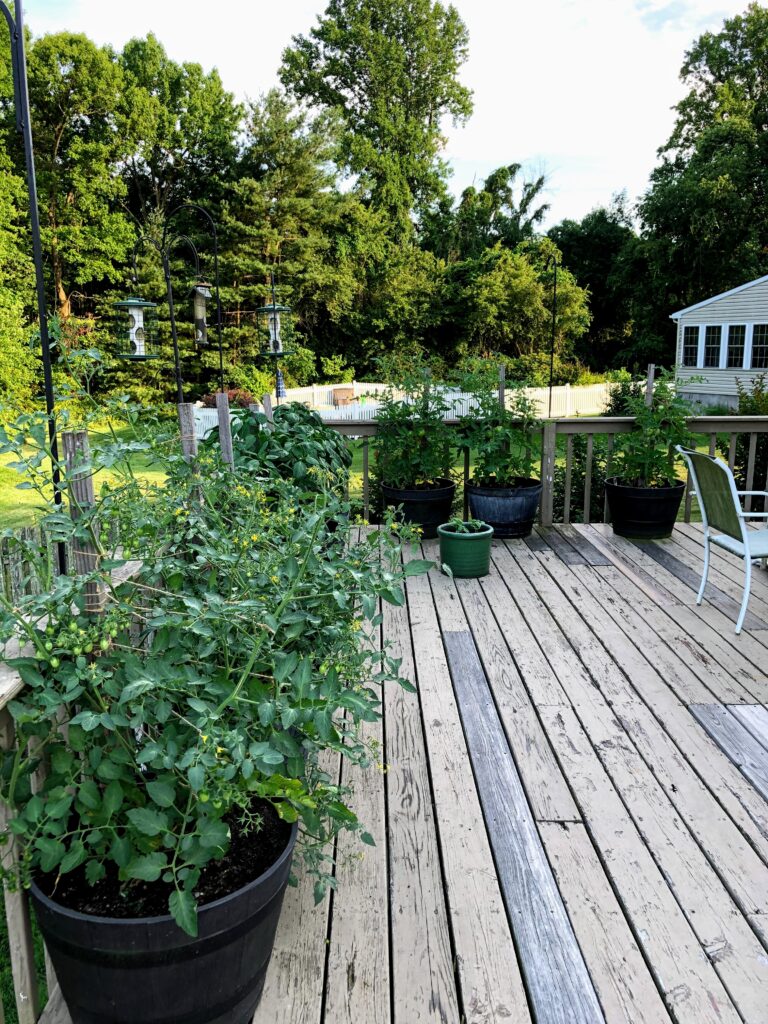
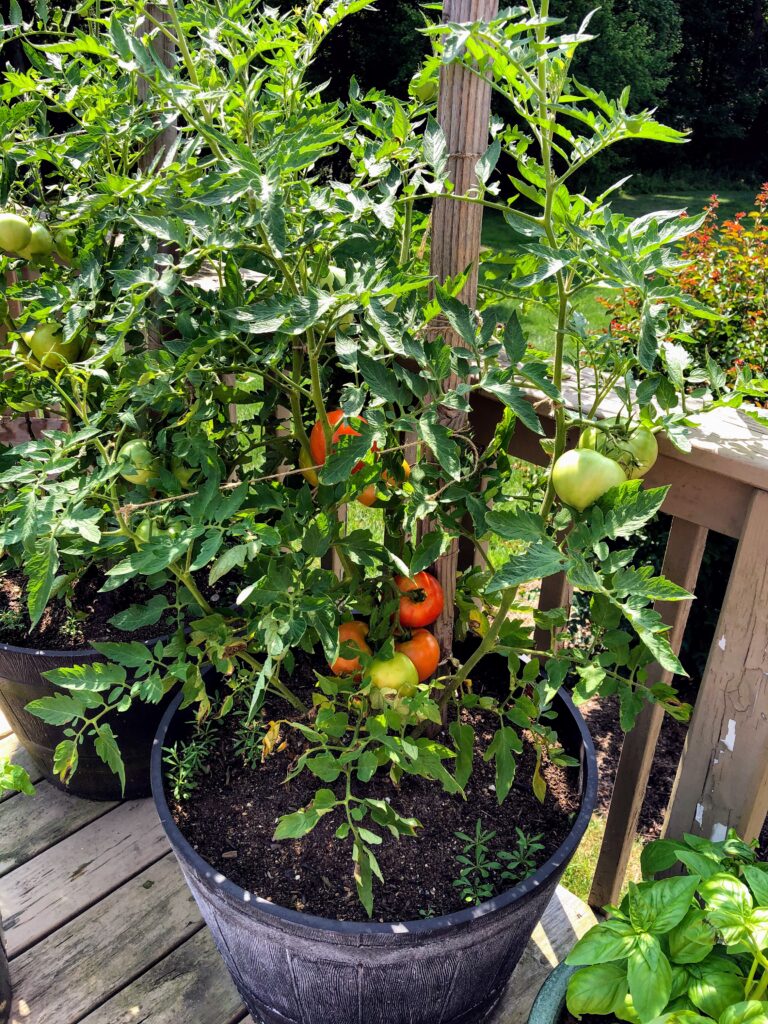
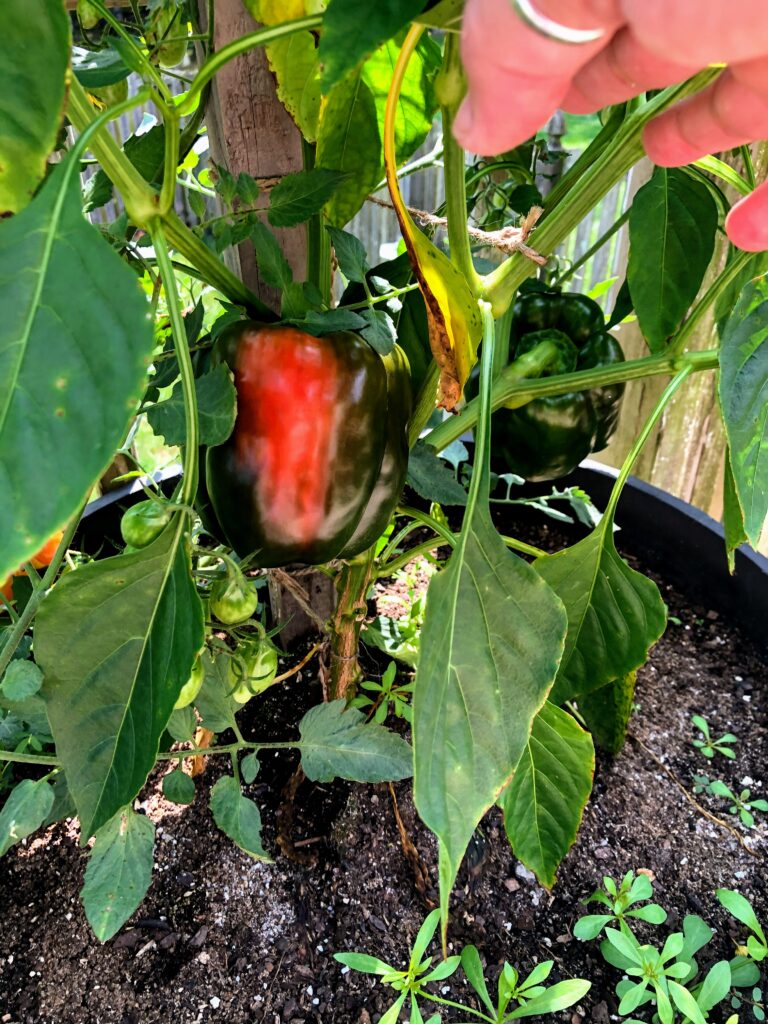
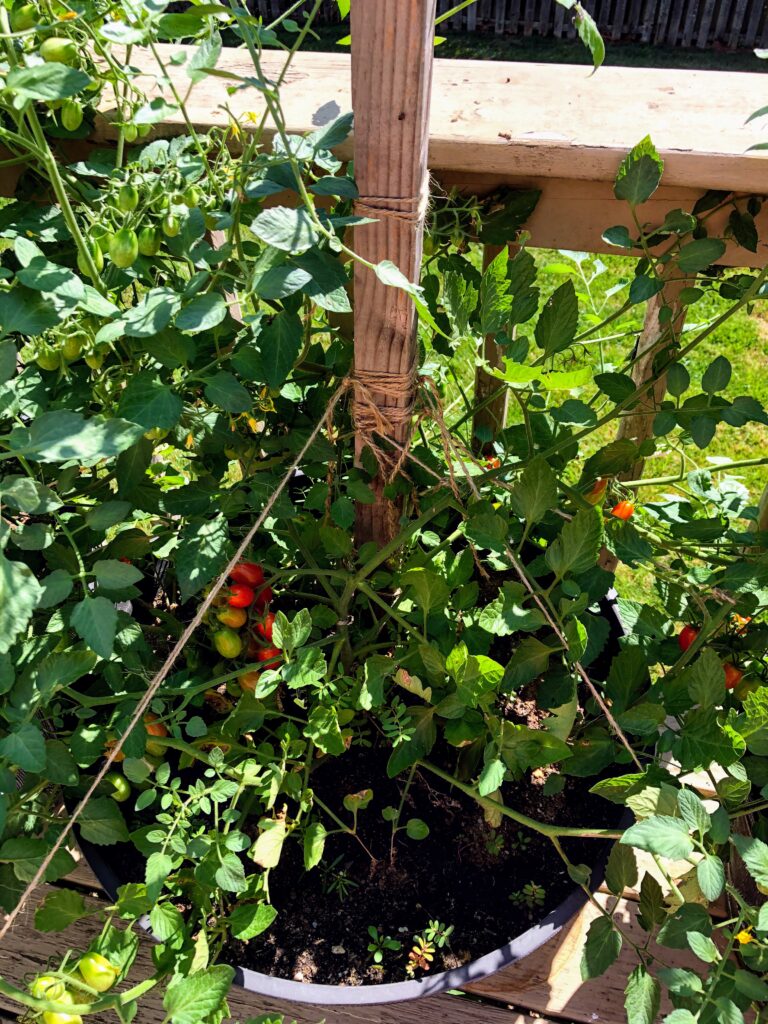
Each year we plant 10 half barrels that sit on our deck with grape tomatoes, big boy tomatoes, and red peppers. Our hope is to have fresh tomatoes all summer long and to enjoy sweet red peppers as part of our menu. This year our small little deck garden has given us so much and we are so grateful. In years past our bounty has given us salads through the summer, but this year we were not only able to have tomato salads every night but I have had the opportunity to create some delicious appetizers and side dishes as well.
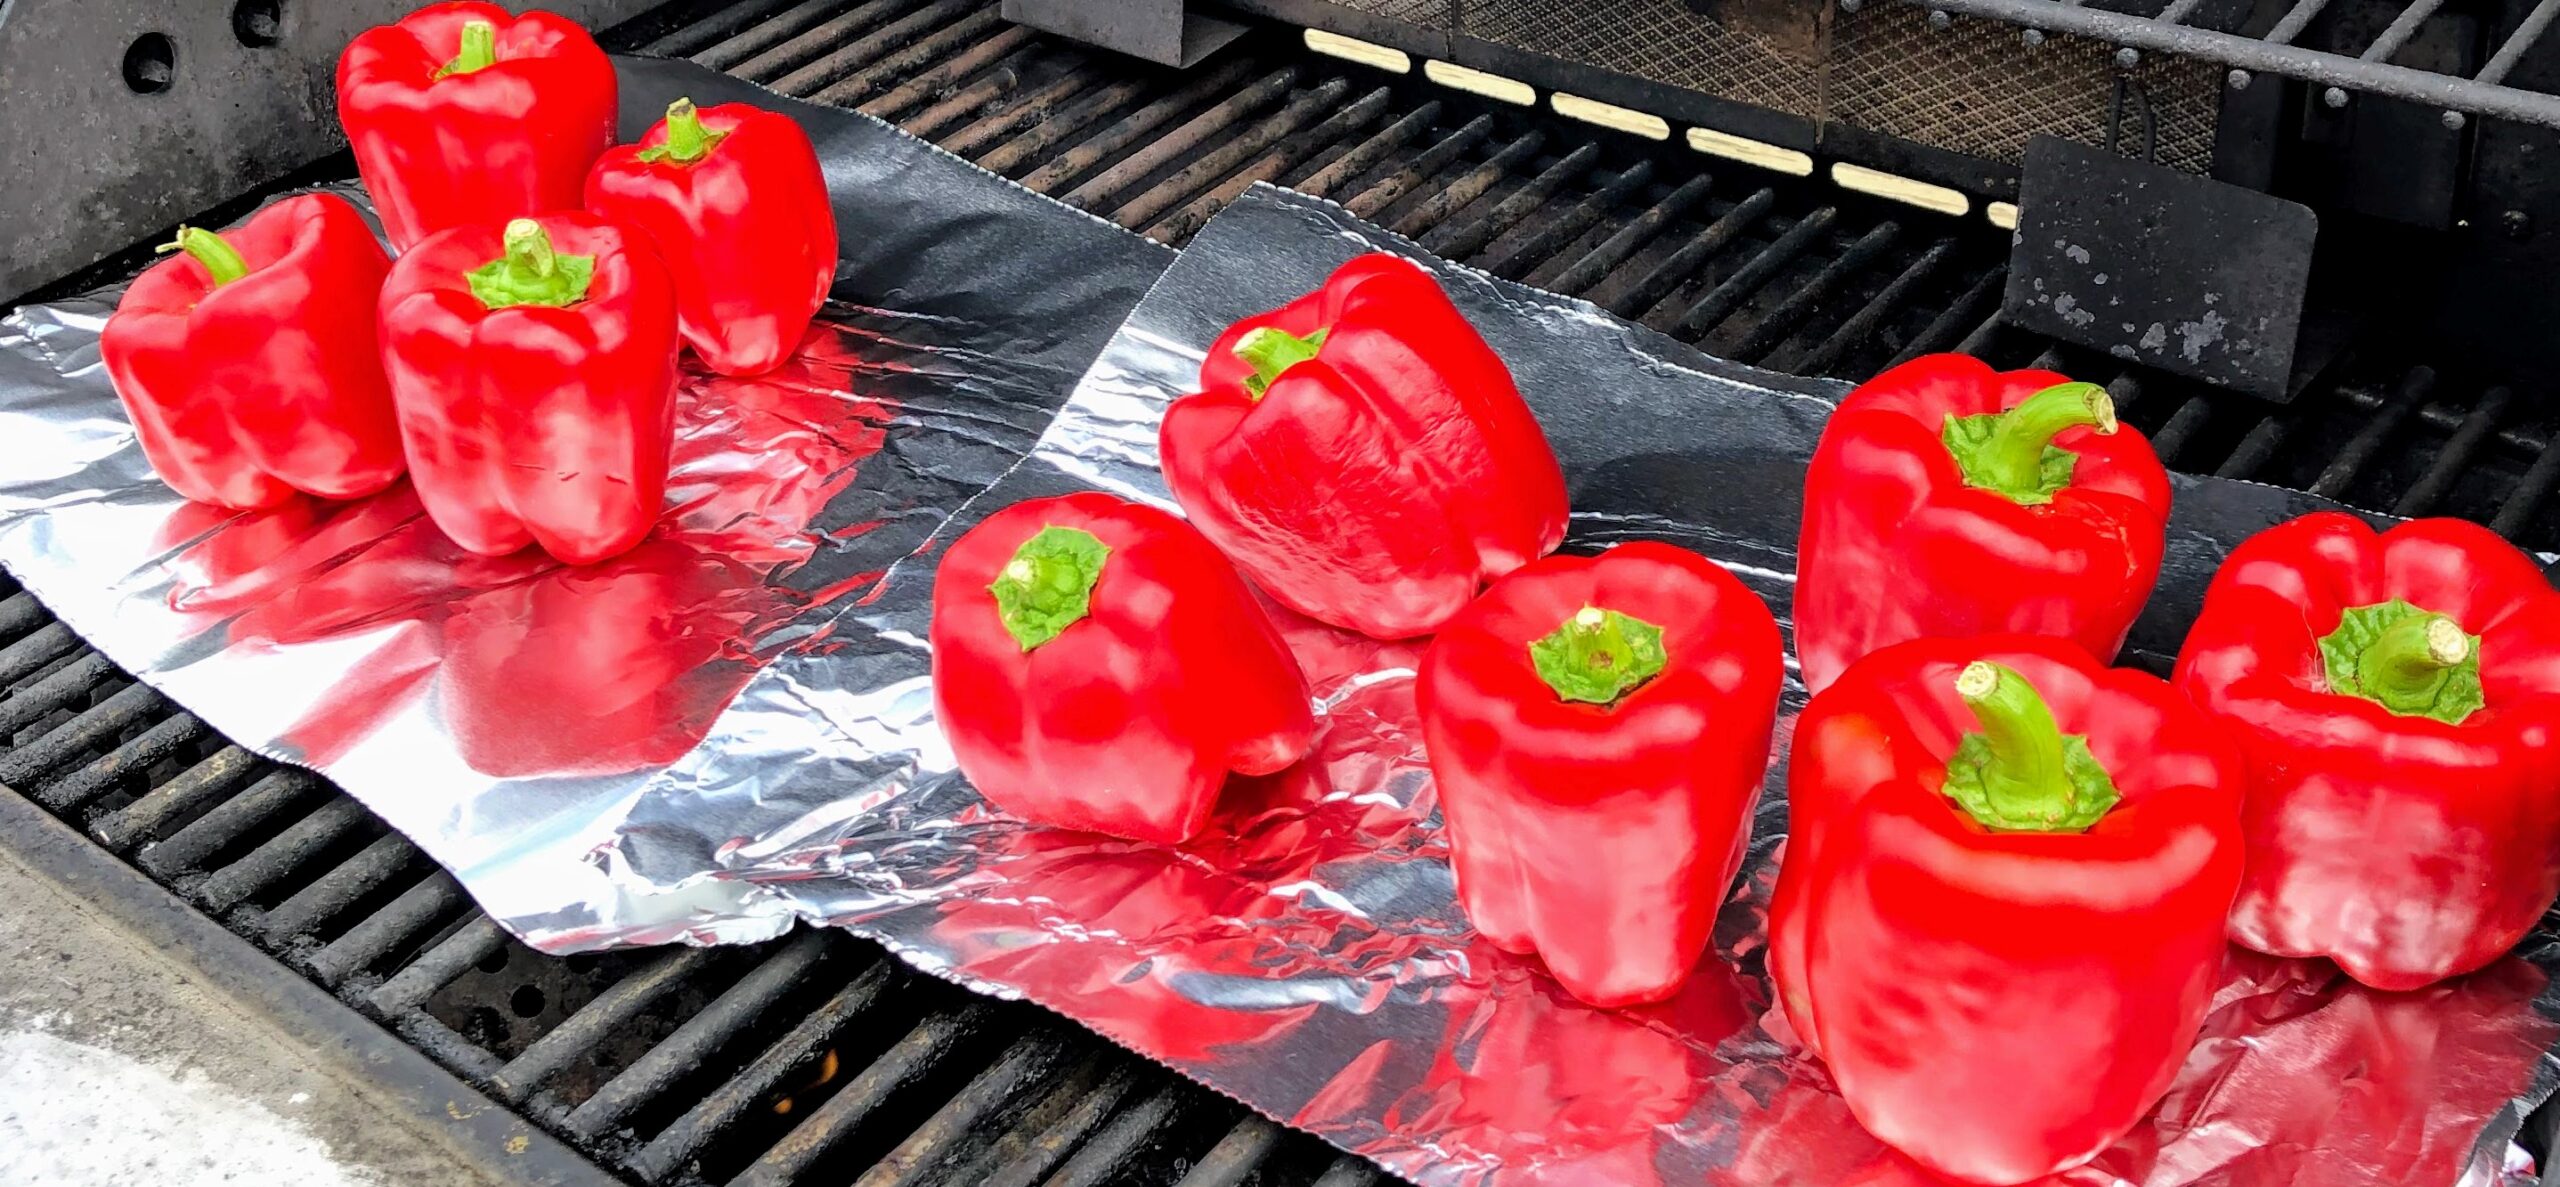
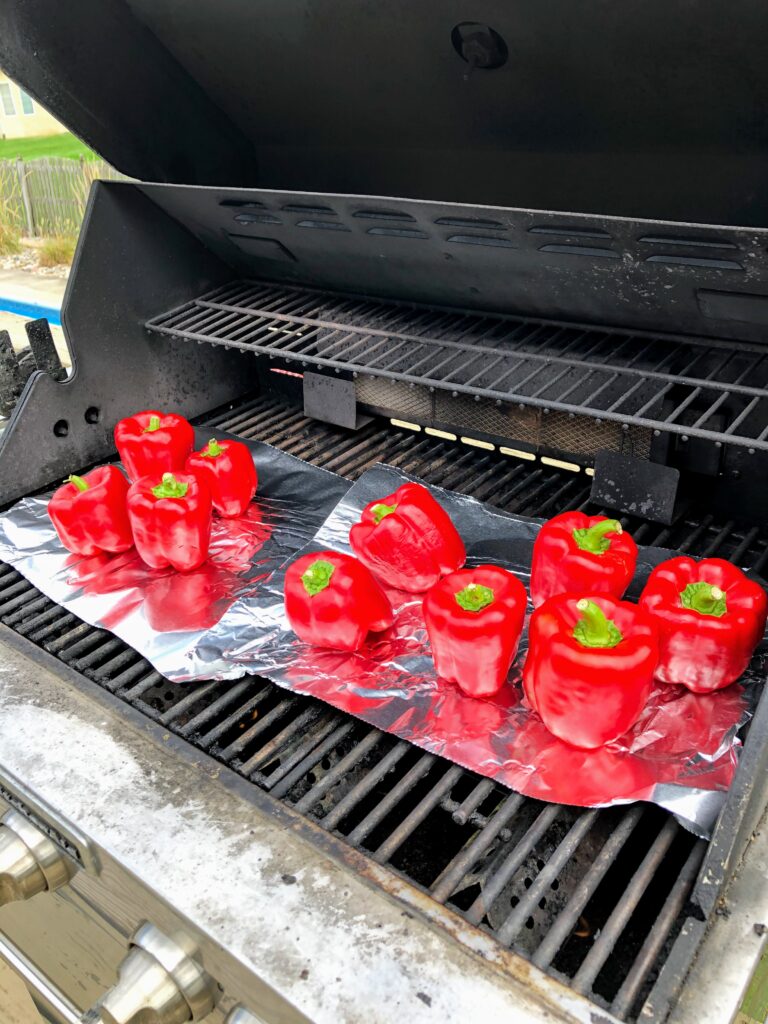
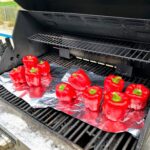
Two of my favorite appetizers, are Roasted Peppers and Roasted Tomatoes. The art of Roasting is so simple but we often forget that this method provides a savory appetizer or side dish to complement any meal. You can roast just about any vegetable and get stellar results, but today I will focus on Red Peppers. I roast my veggies both on the grill as well as using the broiler. During the summer I prefer the grill for my peppers it adds a layer of flavor. There are a few rules to follow when grilling veggies, your first instinct is to keep the grill on high, this will result in burned not charred veggies, take a few extra minutes and keep the flame on low. This will allow the peppers to cook through to give you that roasted pepper texture. To simplify and to protect the peppers I put foil on the grill this helps keep savory juices that come from the pepper as they begin to roast and soften (please make sure your piece of foil is large enough to enclose the peppers once they are finished cooking on the grill). It is very important to roast all sides as well as the top and bottom, for a couple of reasons. First if the pepper isn’t cooked enough it is very difficult to peel the skin off, and second the pepper won’t have that smooth delicate texture if it is not cooked all the way through. I have found if I set the peppers top side down first then flip to bottom side, and finish with laying them on their side and turn then the pepper is fully cooked.
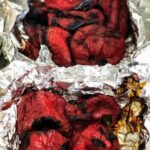
Once your peppers are charred on all sides you will need to wrap the peppers up in the foil, it is easiest to do this on the grill so the juice doesn’t spill all over, but please remember the foil will be HOT! One way to avoid this is to turn your grill off and let the peppers sit a few minutes the foil will cool down rather quickly.
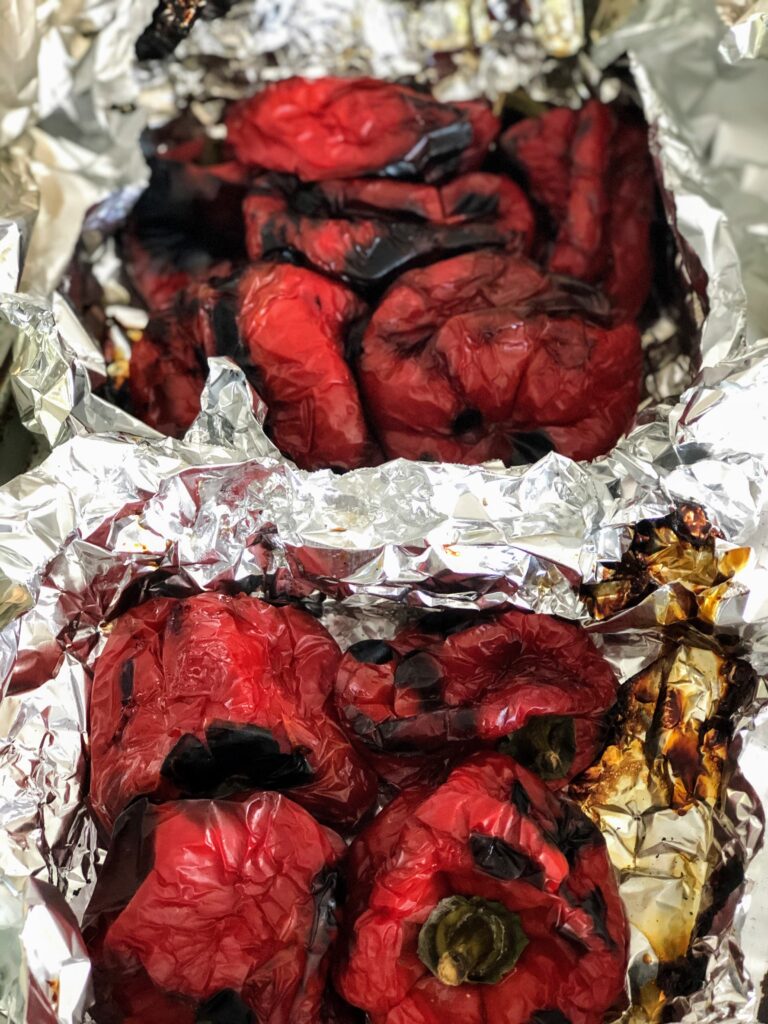
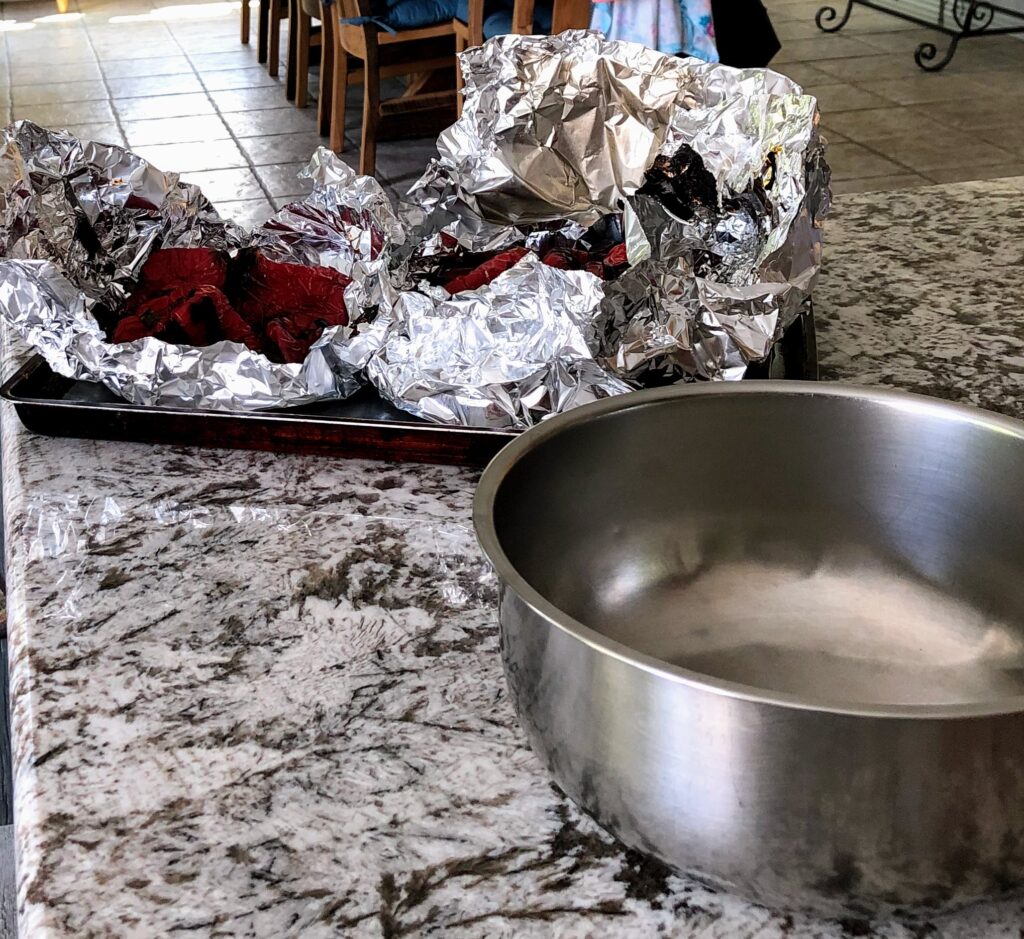
Now that your peppers are wrapped in the foil, let them sit for about 1/2 hour. This allows the peppers to continue to soften as well as cool down so you will be able to work with them. Now comes the fun part. Make sure you do this near the sink or have paper towels to clean your hands.
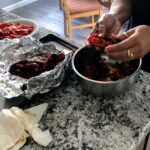
Now that your peppers are cool, you will simply split them apart 1 at a time and clean them, it isn’t necessary to clean every seed out of the pepper but it makes a much prettier presentation.
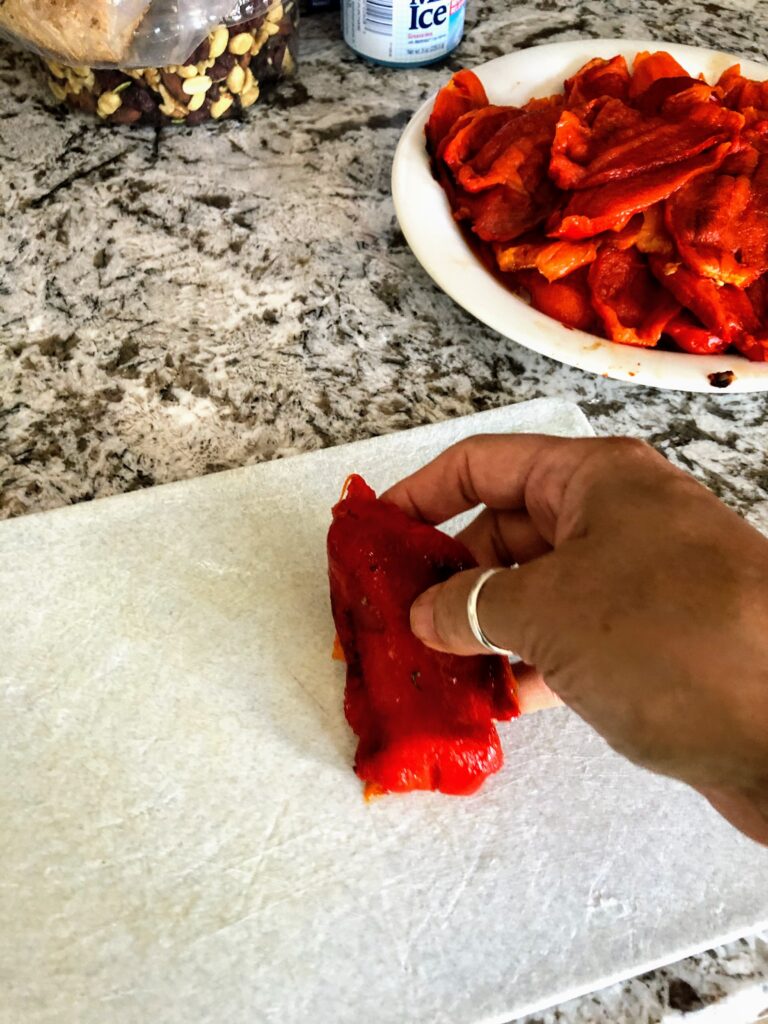
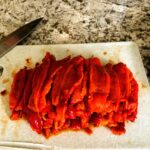
Now that all your peppers are cleaned you can either leave them in larger pieces or slice them into thinner strips.
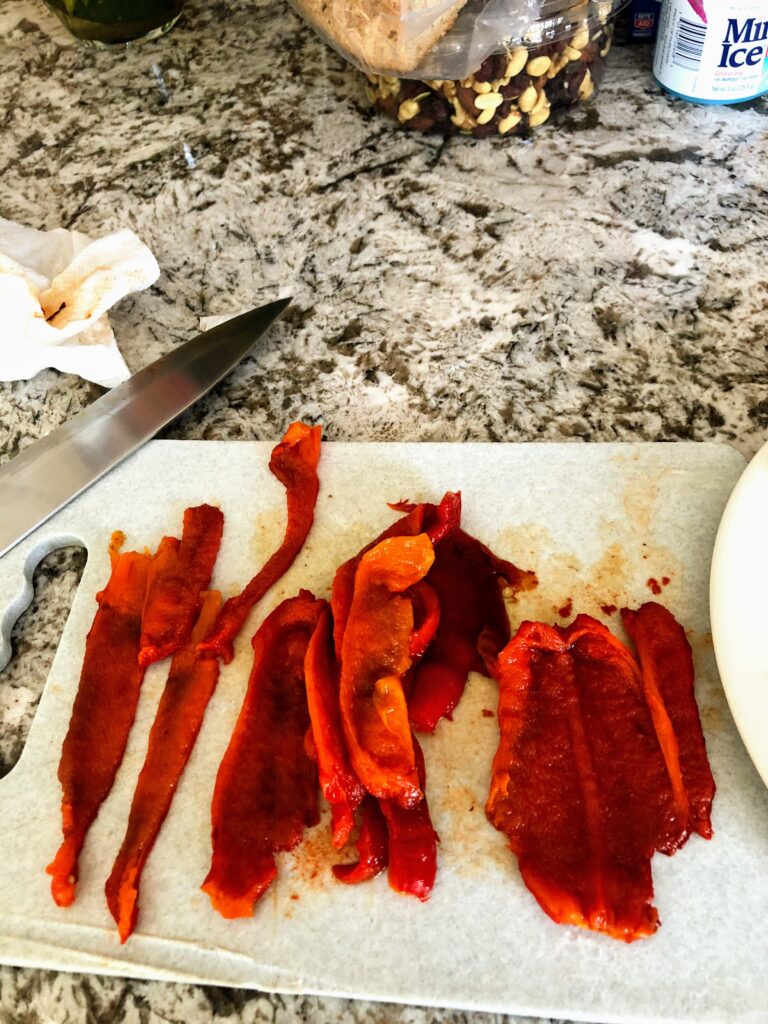
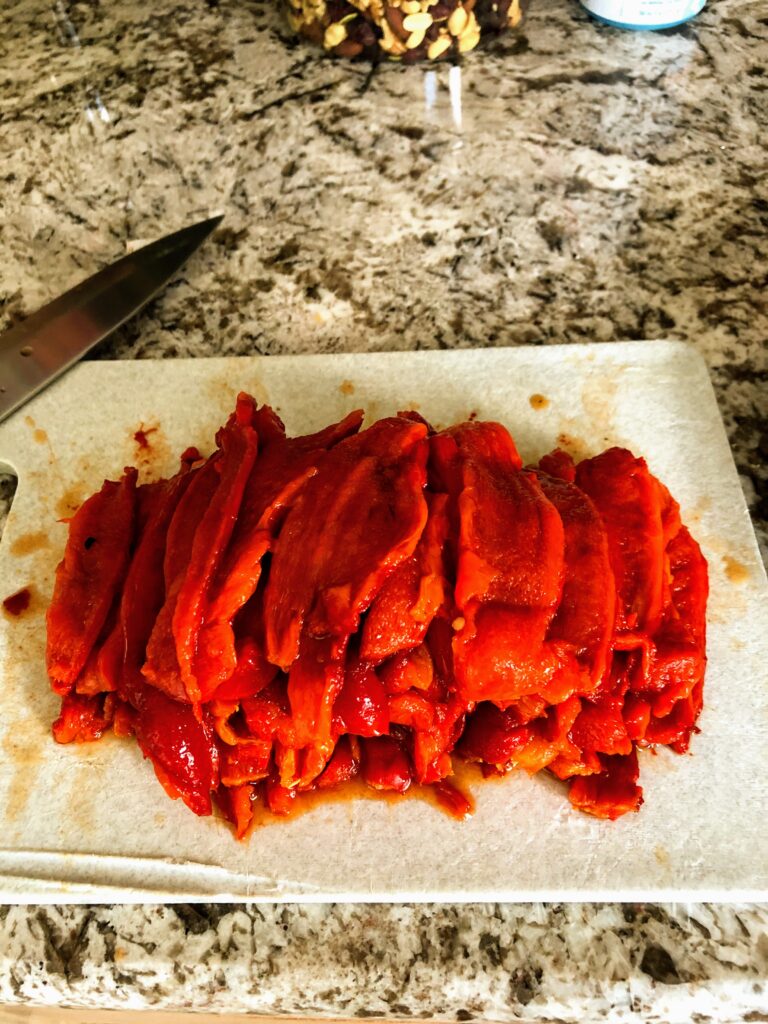
Now onto preparing the peppers. I like them simple, olive oil, garlic, salt and pepper. I have at times added a little lemon juice or pepper flakes to add a little zing to them.. really it is your choice of what you want the final product to taste like. But for today we will be adding Roasted Garlic as our main flavor.
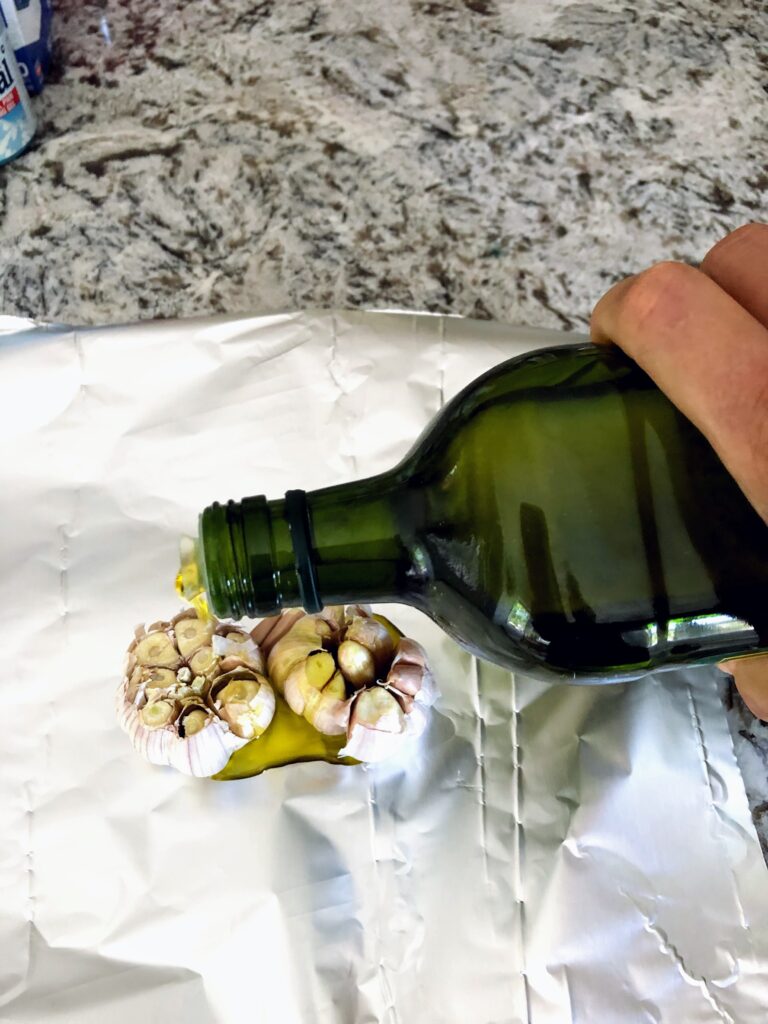
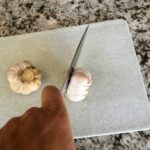
Take any loose outside skin from garlic and cut the tips of the garlic bulb off to expose the garlic meat.
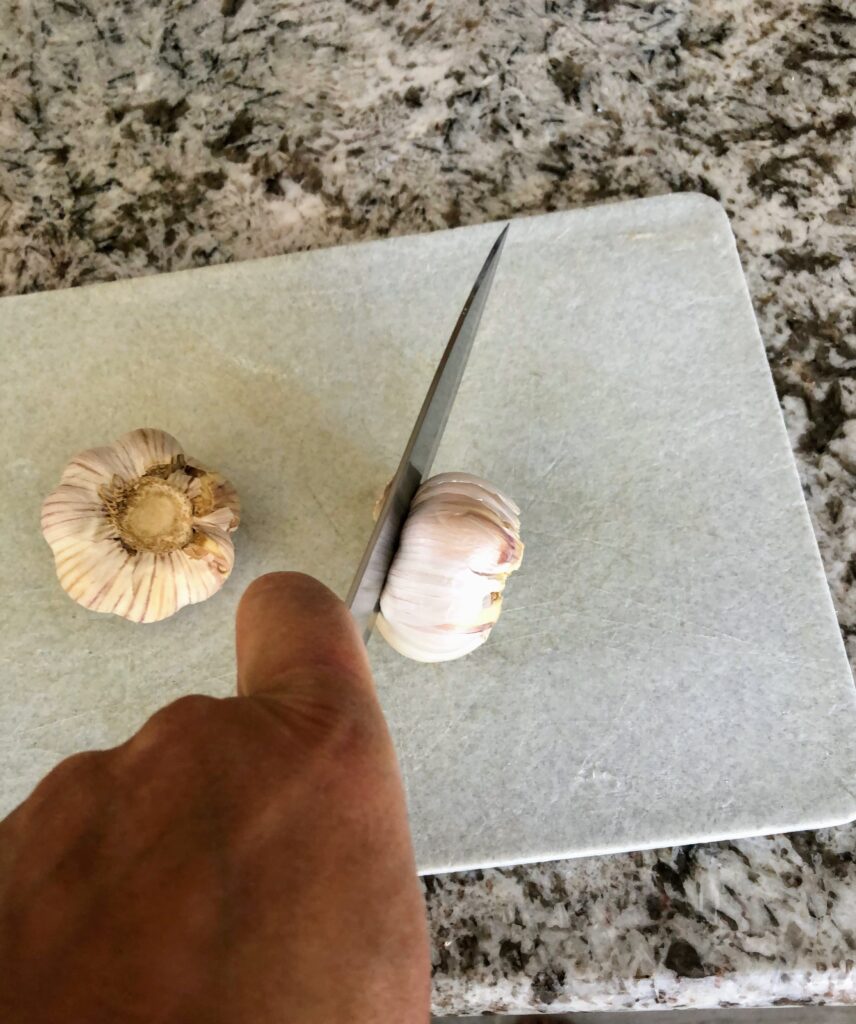
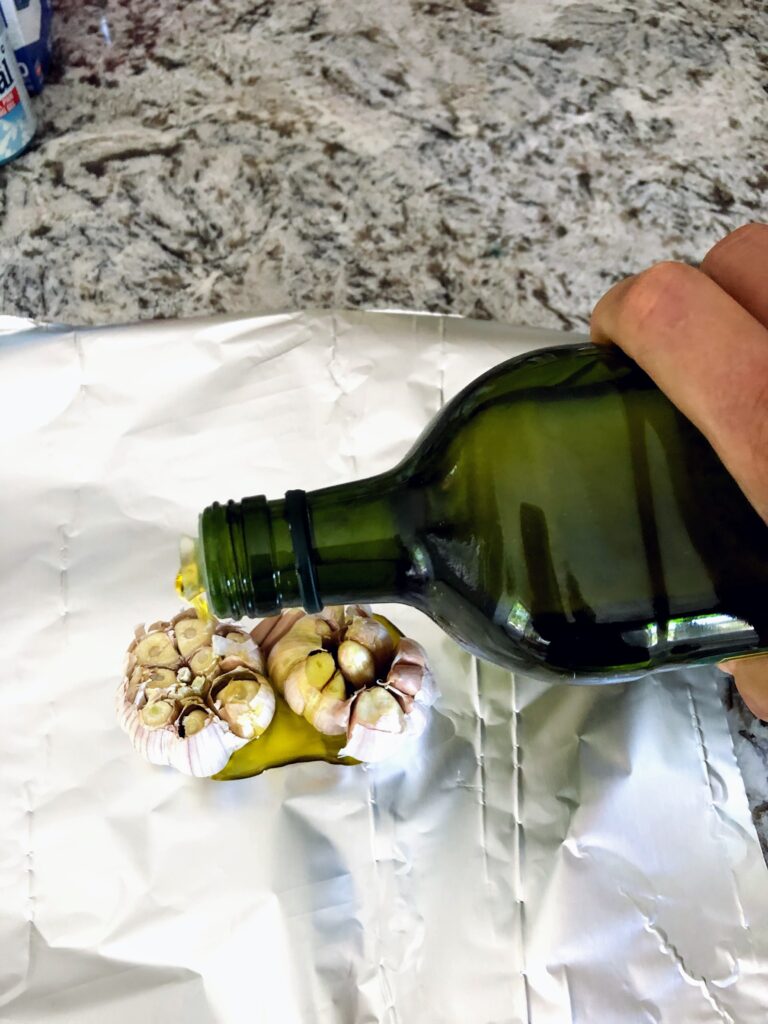
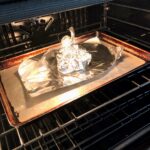
Place the garlic onto a piece of foil and cover with olive oil, you really only need 1-2 tsp of oil, depending on the size of the bulb. Close the foil into a pouch (this helps keep the oil inside) I always put an extra piece of foil underneath so the oil doesn’t drip all over.
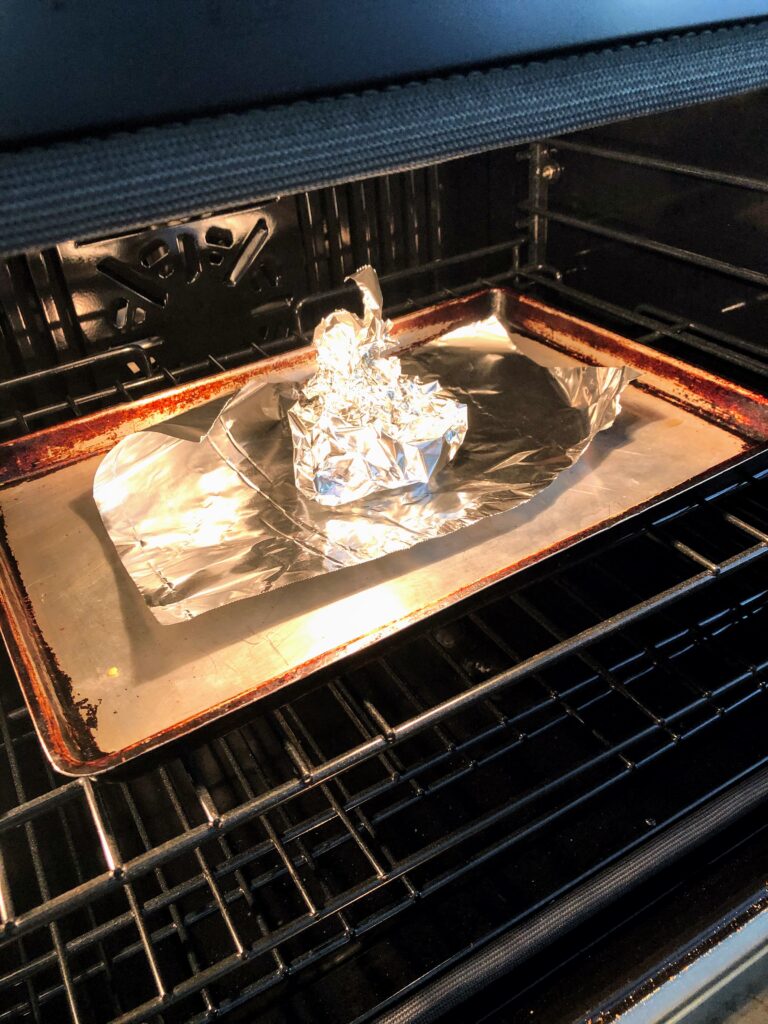
Place on a cookie sheet and bake in oven at 400° for about 15 to 20 minutes. Remove from oven and let cool inside of the foil, (this will help to soften the garlic further)
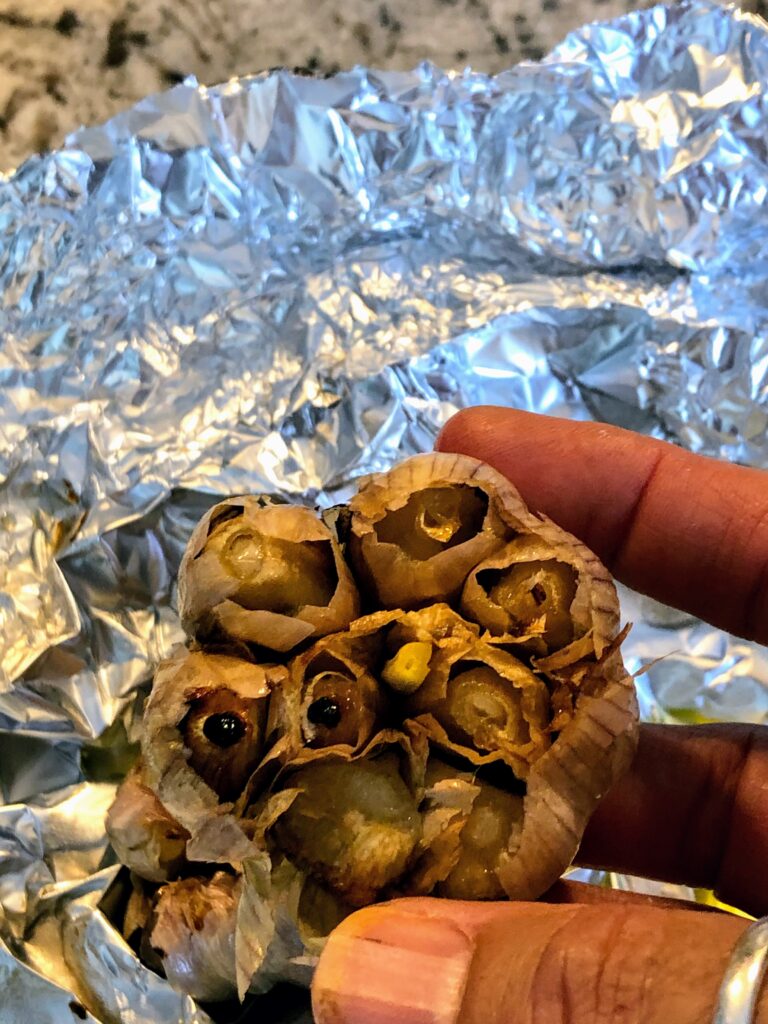
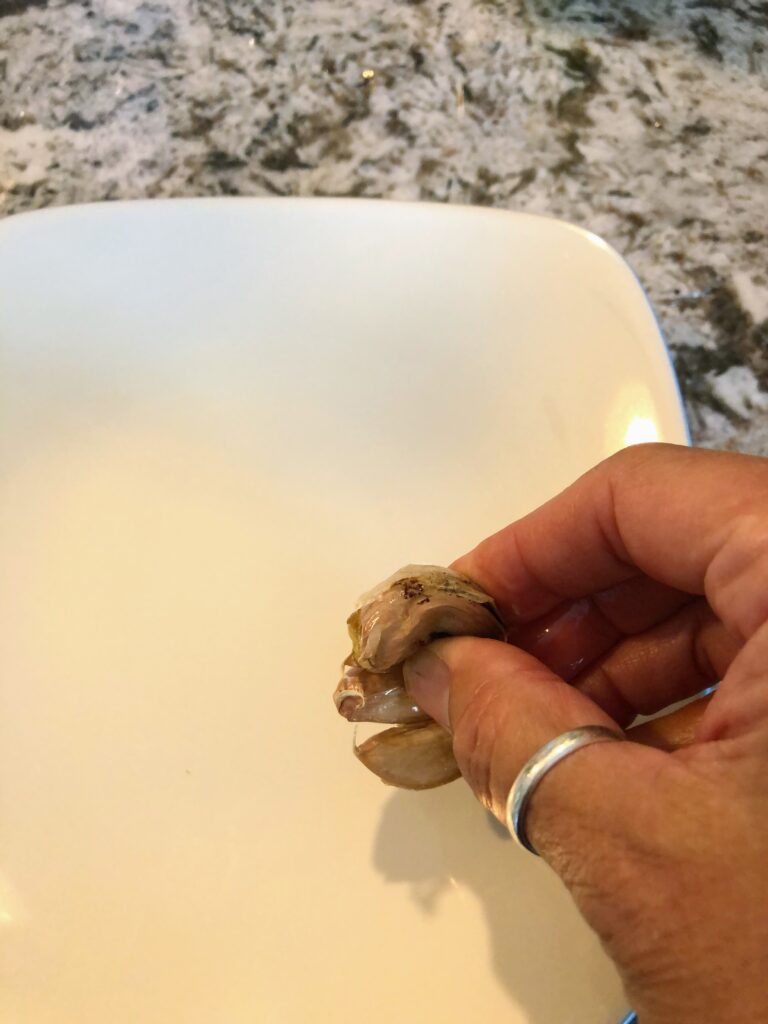
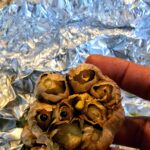
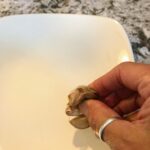
Once it is cool enough to work with remove from foil and break the cloves apart and pop out the garlic from the skin.
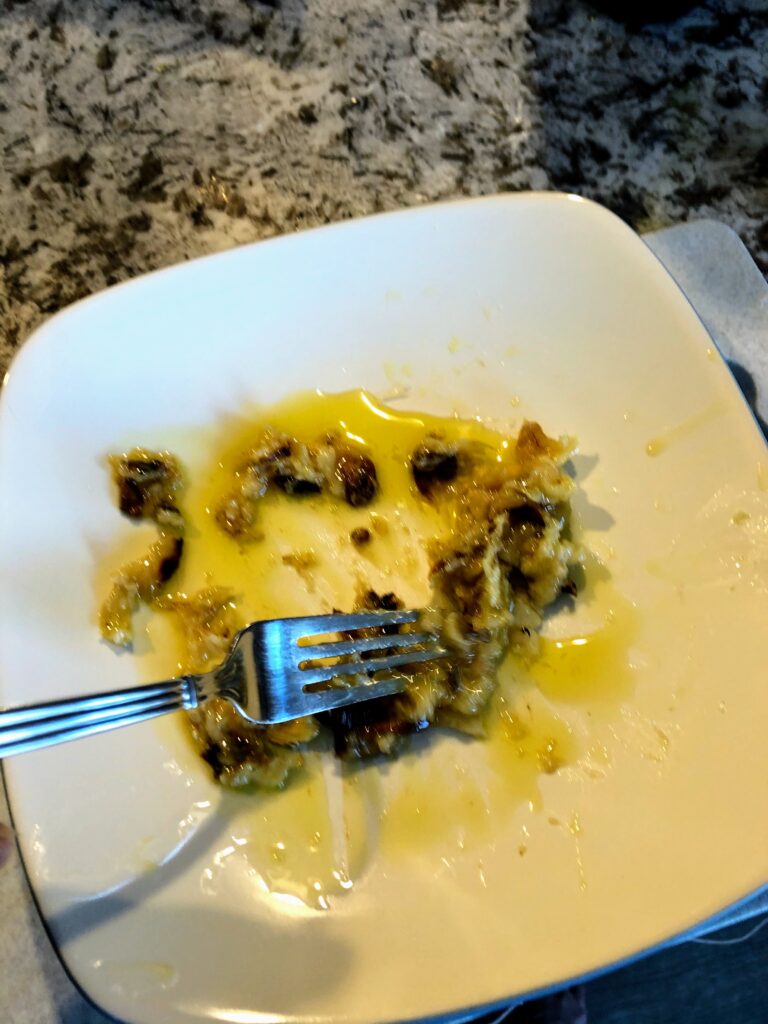
Once you have all the garlic out of the skin add 1 Tbsp of olive oil to mash the garlic into a paste, (it can be a chunky or smooth as you like).
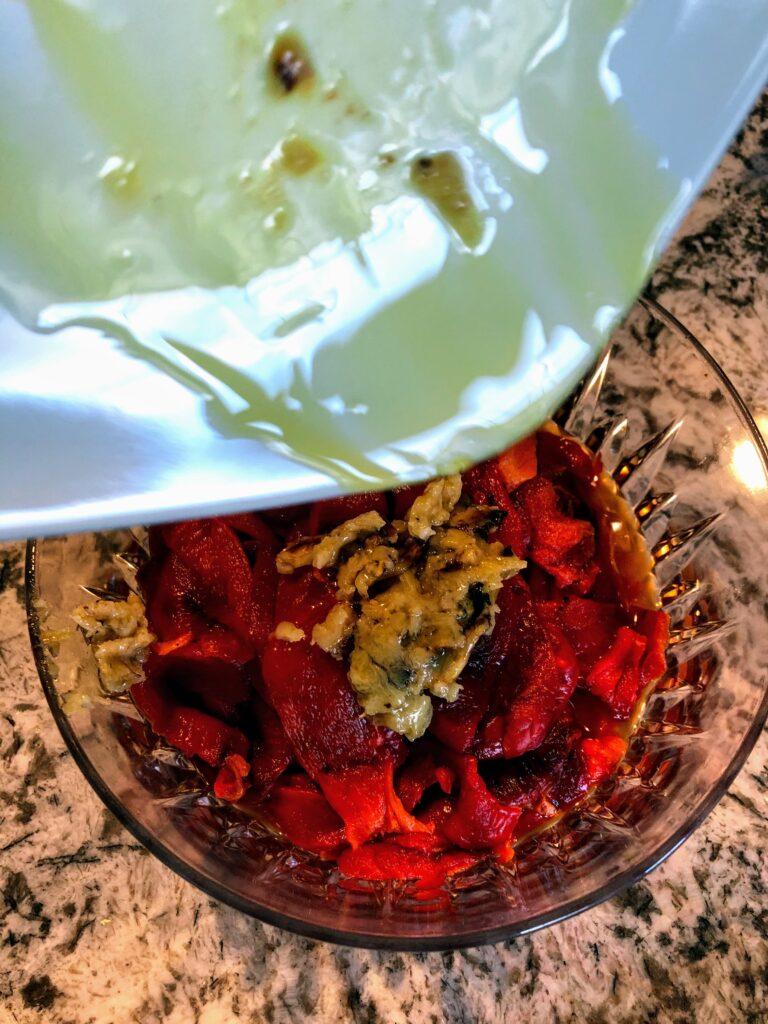
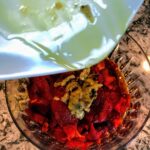
Now add your garlic to the roasted peppers.
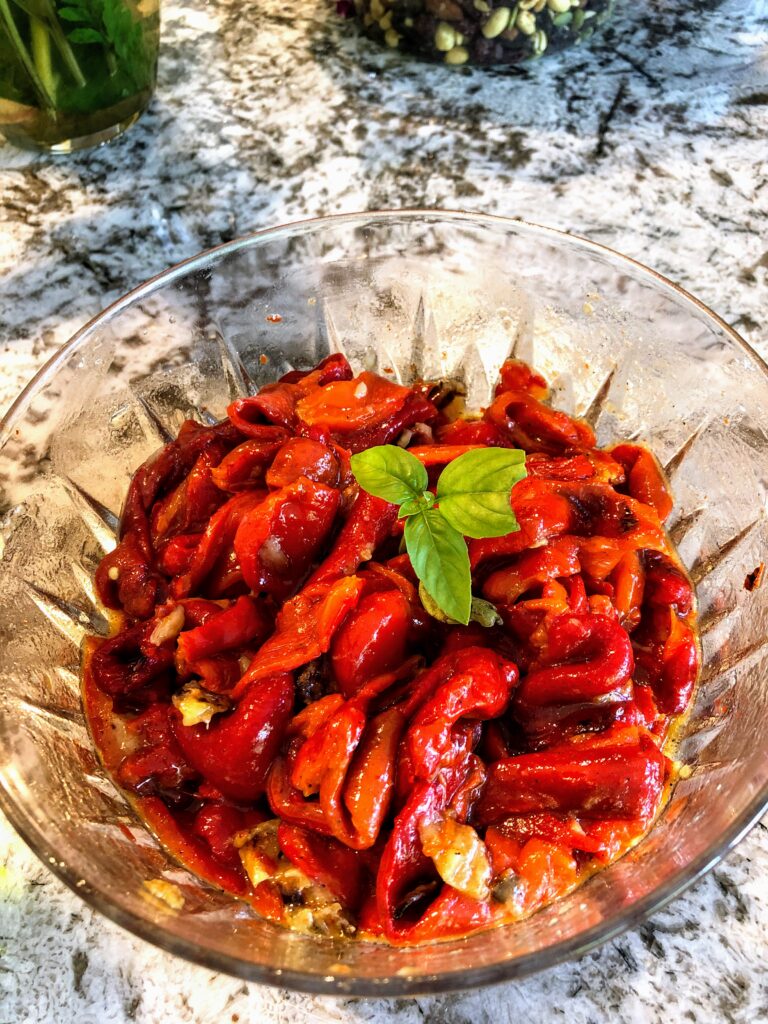
Mix your Roasted Peppers and Garlic adding 1/4 cup olive oil to mix together. Season with salt and pepper and you are ready to go. When you use fresh garlic it is best to add a little lemon juice to the peppers, this will mellow the garlic slightly, it is best to let it sit for 1/2 hour to let the flavors blend. When using roasted garlic there really is no down time, the flavors blend together almost immediately and the taste and aroma are simply divine…
I always hope that when I write a blog that I have inspired even one person to experience to joy of creating in the kitchen. My motto has always been
Enjoy the Journey as much as the end result… Until we meet again
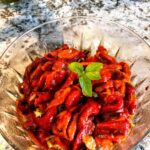
Roasted Peppers w/ Roasted Garlic
Homemade Roasted red peppers with roasted garlic
Ingredients
Roasted Pepper Ingredients
- 8 Peppers Red, Green, or yellow
- 2 Garlic Bulbs
- Olive Oil
- salt and pepper
Instructions
Roasted Peppers
-
Roast Peppers on Grill using Aluminum foil under peppers to catch juice
-
Make sure that Peppers are charred on all sides including top and bottom approximately 45 minutes on medium low heat.
-
Wrap peppers in existing foil and remove from heat, allow to cool.
-
Split peppers one at a time and clean all seeds, skin and stems
-
Once all peppers are cleaned, slice into thin strips
-
Place peppers in bowl and add roasted garlic
-
Add Olive oil salt and pepper to taste

Roasted Garlic
Savory Garlic for any recipe, smooth mild flavor!
Ingredients
- 1 garlic bulb
- 1-2 tbsp Olive Oil
Instructions
Roasting Garlic
-
Take the garlic bulb and cut the tips off of the top of the bulb
-
Place Garlic on a piece of Aluminum foil large enough to enclose the garlic (like a pouch)
-
Place on a cookie sheet and bake at 400° for approximately 20 minutes (check at 15 to make sure it isn't to brown)
-
To use, just remove the cloves from the bulb and squeeze the garlic out of the skin into a bowl.
Recipe Notes
Once your garlic is roasted, there are many ways to use. Definitely to cook with, it has slightly sweet nutty flavor, so much smoother than raw garlic. It can be used for Garlic bread, just pop the garlic out of its skin and mash with some olive oil, salt and Pepper, spread on some crusty bread and pop it in the oven. Adding Roasted garlic to Humus, or Roasted veggies is another favorite. The sky is the limit…