Home Canning: Part 1
During the summer I tend to look for projects to keep me occupied in my spare time (hahaha). What I should say is, what little time I have, I dedicate to our summer projects, that have become annual projects. One of those projects is canning. We love to can, it truly is a passion, and the feelings of accomplishment when you are cooking with your home canned goods during the winter months is amazing. We follow the “Ball Blue Book The Guide to Home Canning and Freezing” to the T and have had great success each season.
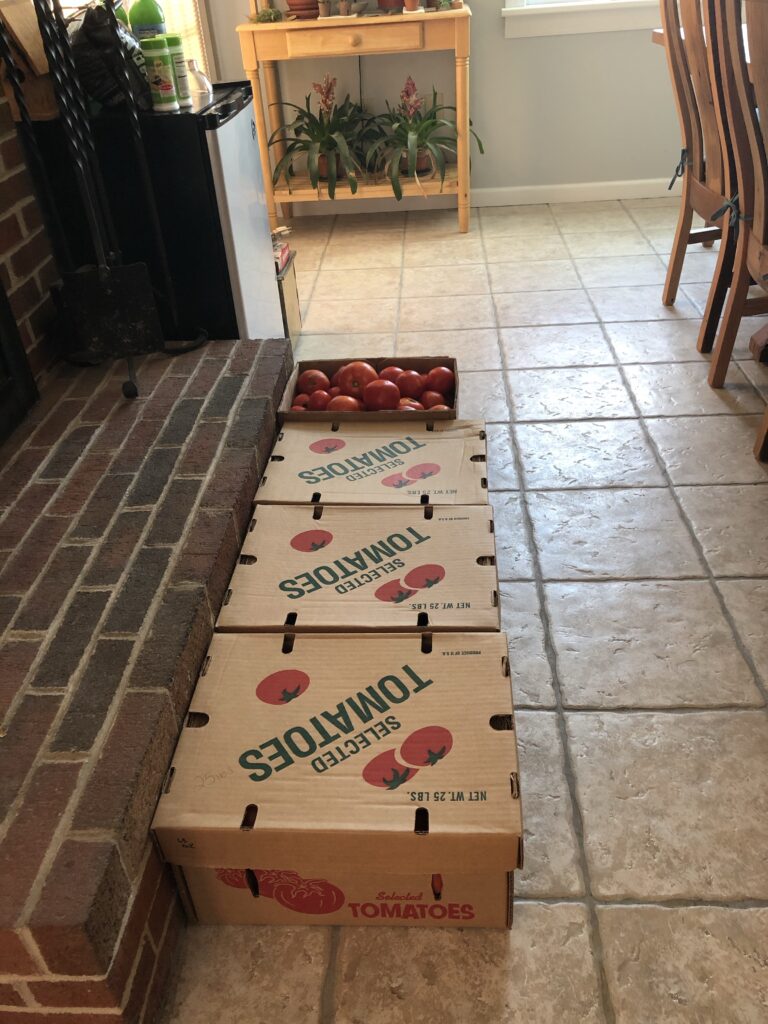
There is a great local farm that we use to purchase all of our Tomatoes Charlann Farms https://www.charlannfarms.com/ If you live in the Lower Makefield, PA area check them out, you won’t be disappointed.

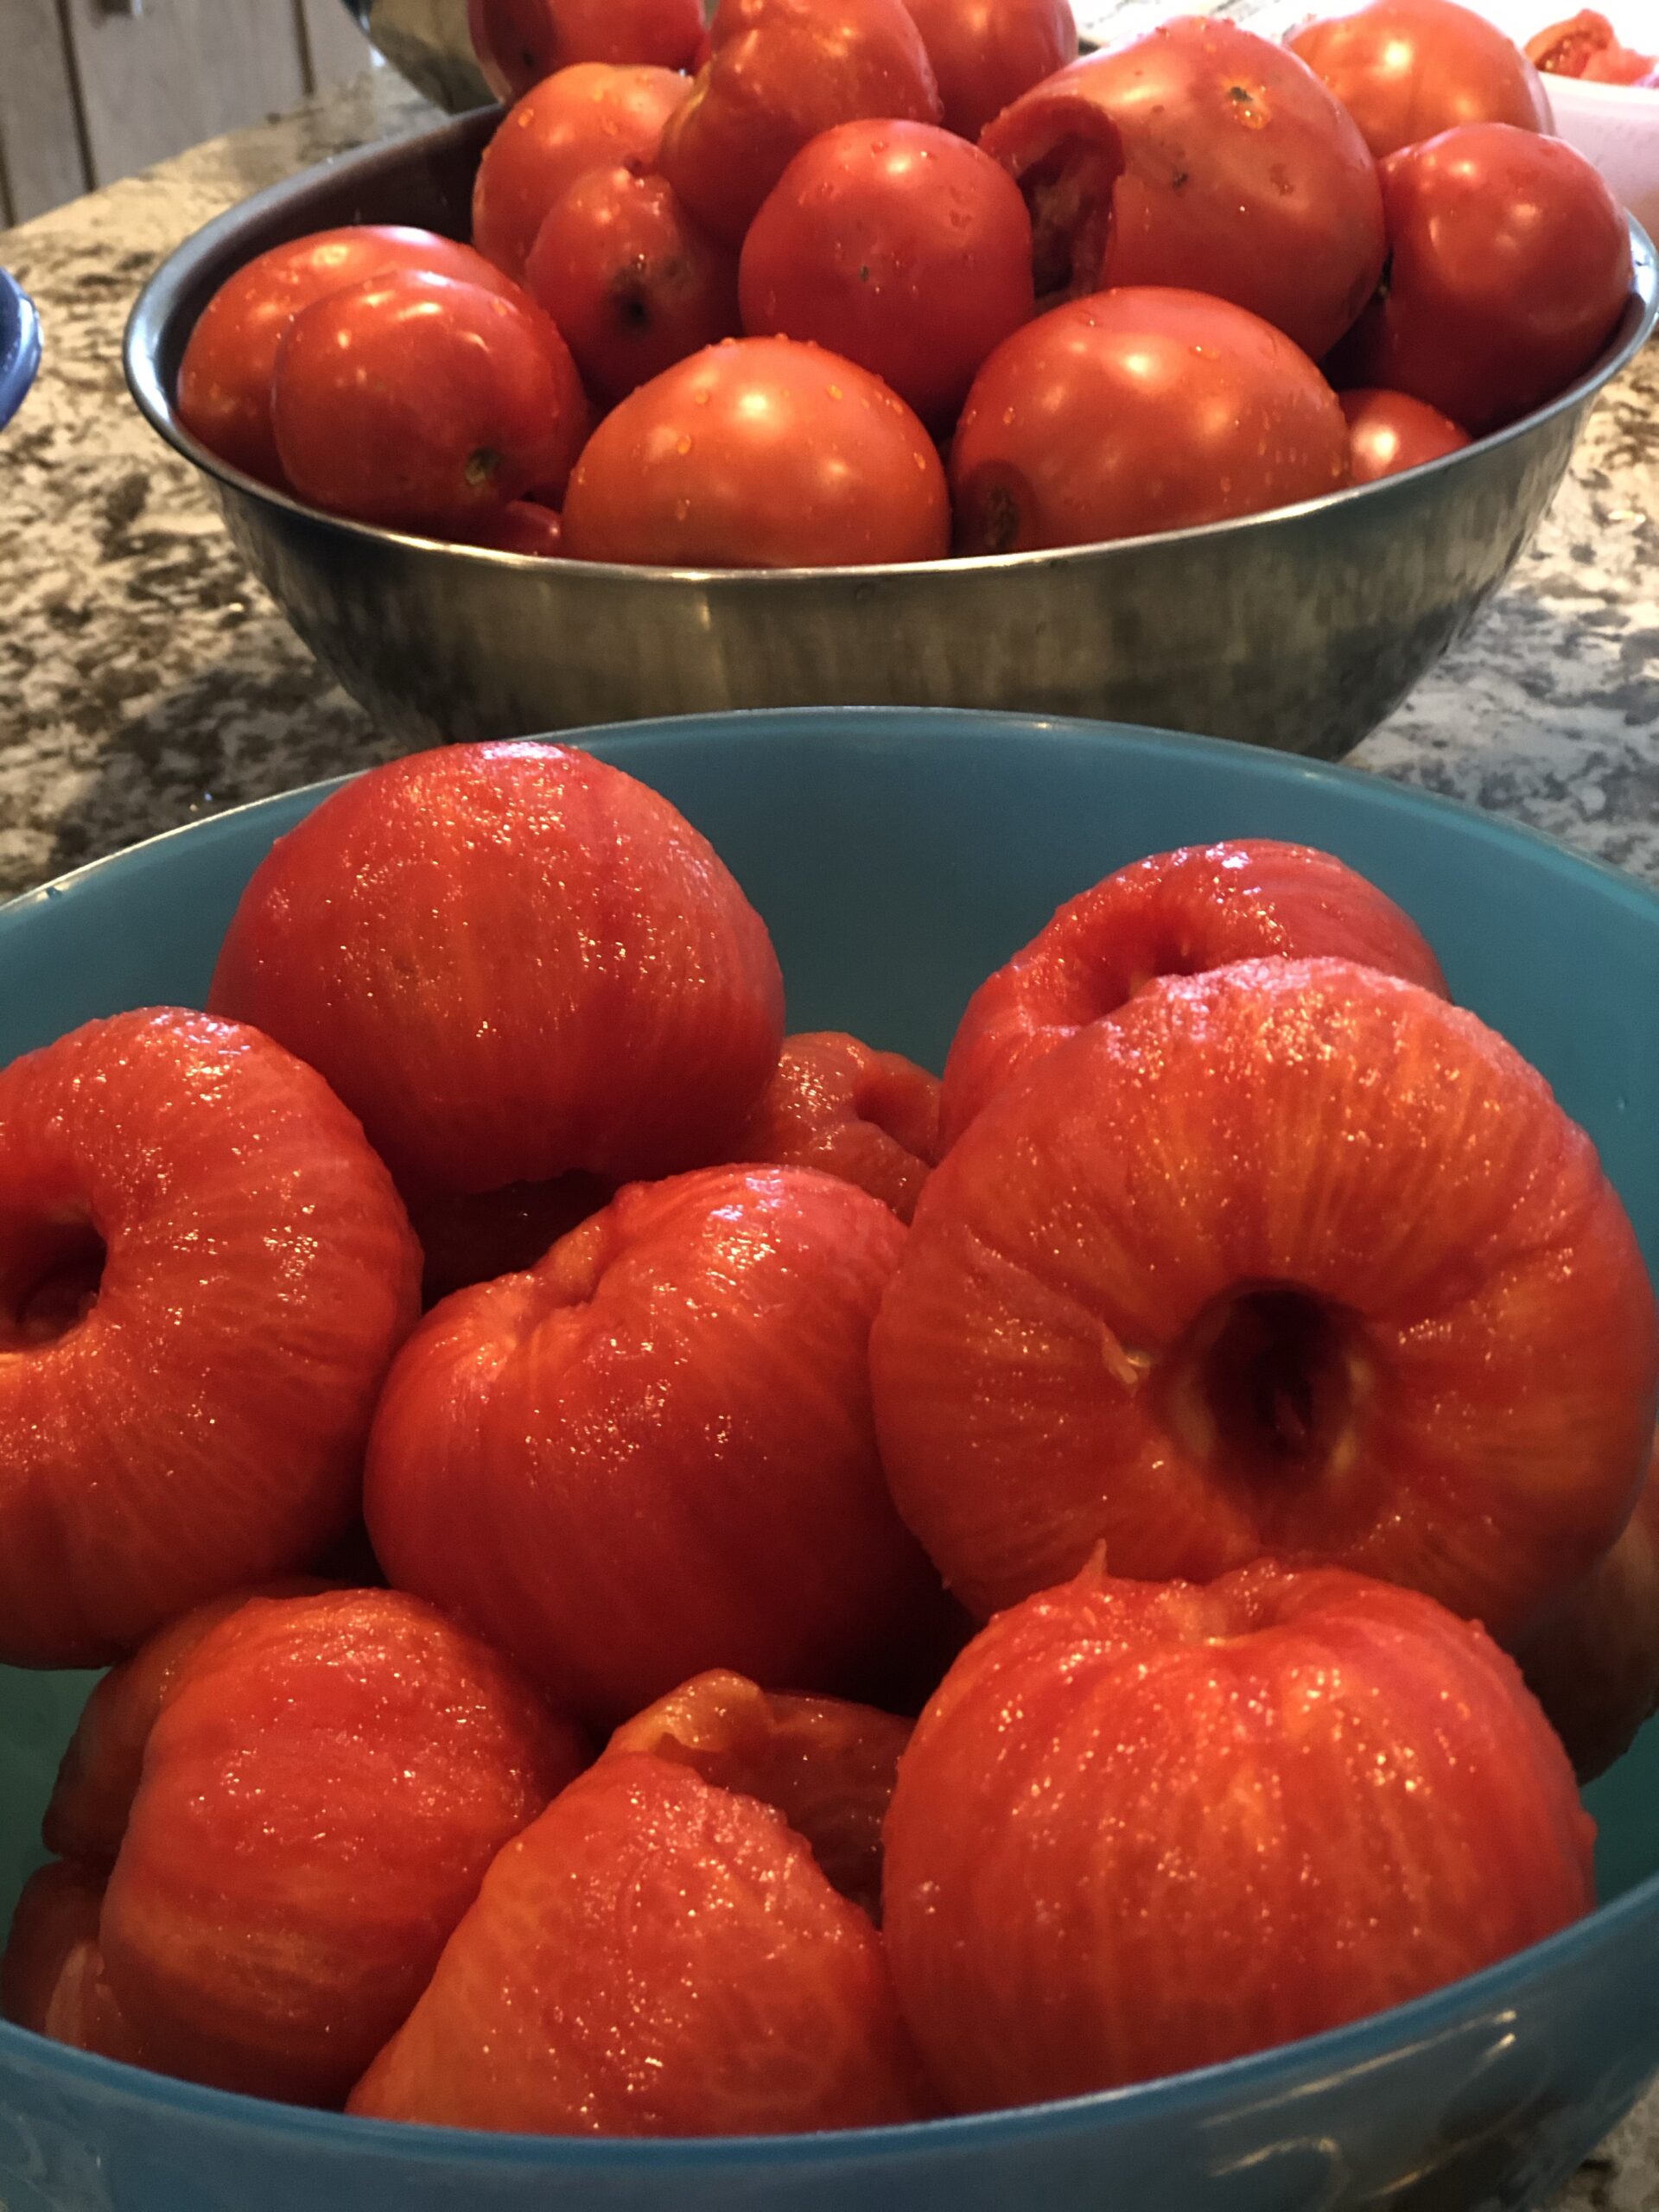
For our canning we use soft tomatoes, they are a little more work but the $$ savings make it worth the work. Our preference are the larger tomatoes, we cold pack them so we have more variety during the winter months. We do not use plum tomatoes, these are generally used when you are making sauce to can or jar.
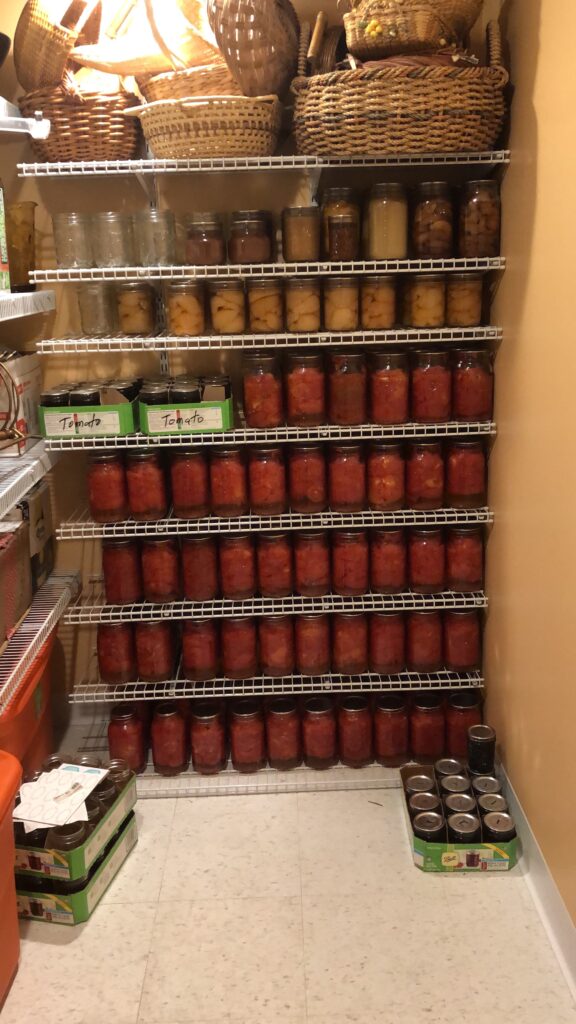
Our goal each summer is to can/jar enough tomatoes to last us to the following August canning season. For us it is about 130 Quarts. It takes about 350 pounds of Tomatoes to achieve this. As a team of 2, we can usually work on about 150 pounds of tomatoes at each session. This will take a good 5-6 hours depending on your equipment.
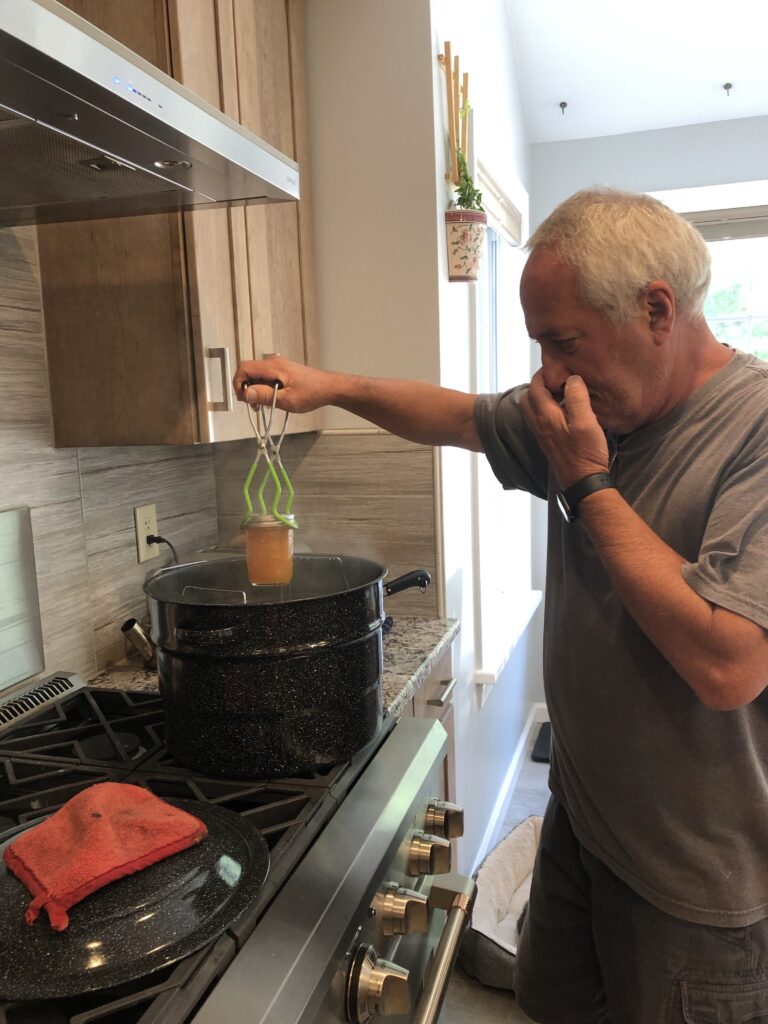
On the subject of equipment, there are 2 methods when home canning. The first is to use the hot bath method, we use this method when we are canning our jams. The second is to use a pressure cooker. Our preference for Tomato canning is the pressure cooker, but the cook book gives you directions on both methods. I am just giving you an overview of the process, it is best if you follow the exact steps, given in the Ball Blue Book. I have listed a link to Amazon for one of their books, you can find them at your local book store as well.
https://www.amazon.com/All-Ball-Book-Canning-Preserving/dp/0848746783
You will need to make sure you have Jars, Lids, and Rims before you start. This season it has been a real challenge finding all these items. With Covid-19 and so many people home, Gardening and Canning has become a trend, as well as price gouging for these items.. If this is your first time Canning you will need to buy the Jars. The lids and rims come with them. Make sure that as you use your canned goods you are saving your JARS and RIMS, the lids that are sealed will need to be thrown away and new ones will need to be purchased each year. I was able to find Lids and Rims on Amazon but the prices were all over the place. An average price for the Lids and Rims bought together is between $5.00 and $6.00 for a 12 count. I have found them at Target, and Walmart. The Ball canning cookbook will tell you exactly what is needed for your project.
Once you are set with your equipment, plan on making a day of it. Have fun, it is hard work but the benefits will be well worth it.
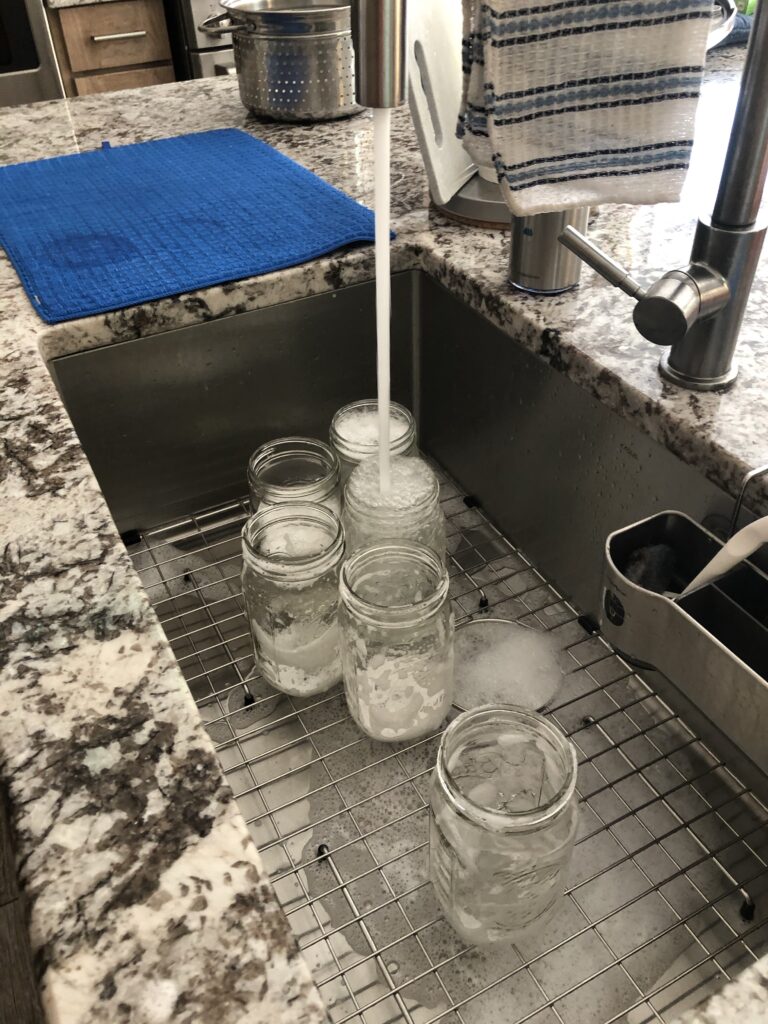
FIRST: Wash all the equipment, cleanliness is your friend when canning.
Once the jars are washed place them in a large pot to be boiled and sterilized.
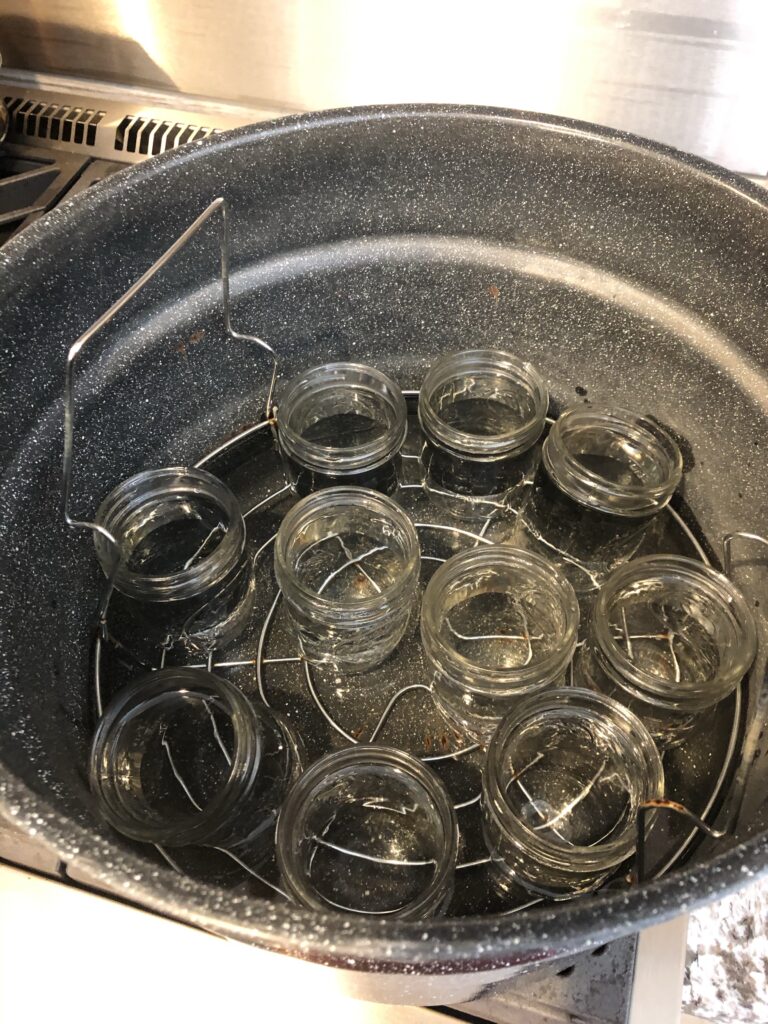
Make sure that you fill the pot with water. It will need to be a good 2 to 3 inches over the top of the jars.
SECOND: Rinse the Tomatoes to remove dirt. Next blanch the Tomatoes in boiling water for about 2 minutes. remove and place in cool water. Core and remove the skin.
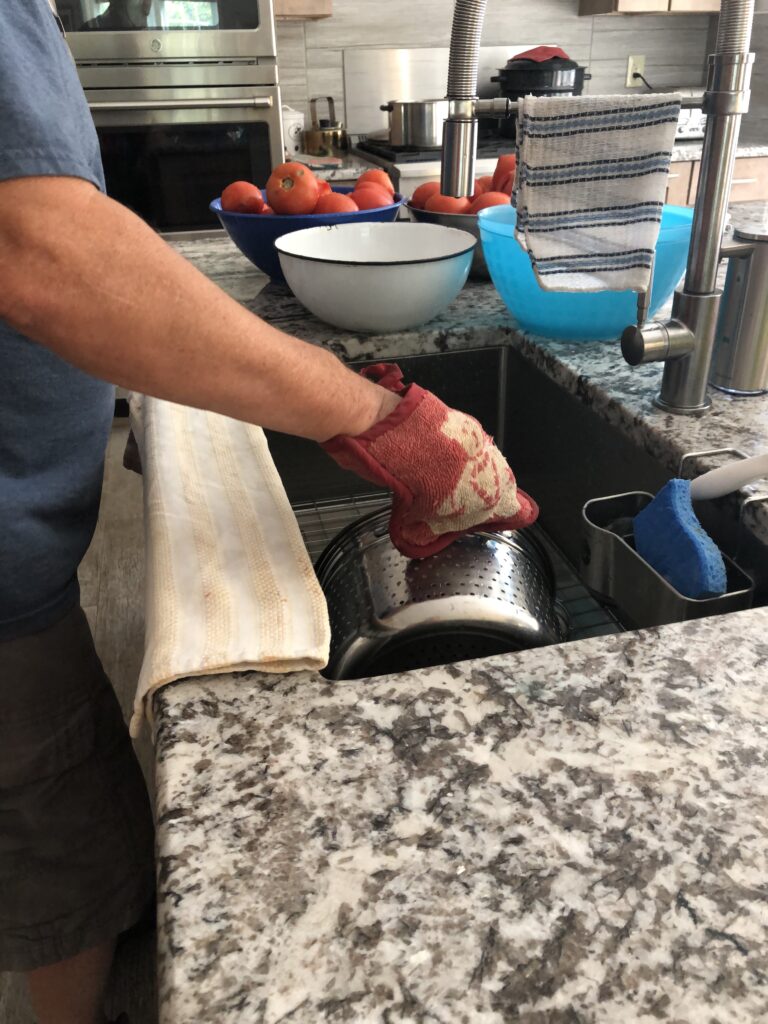
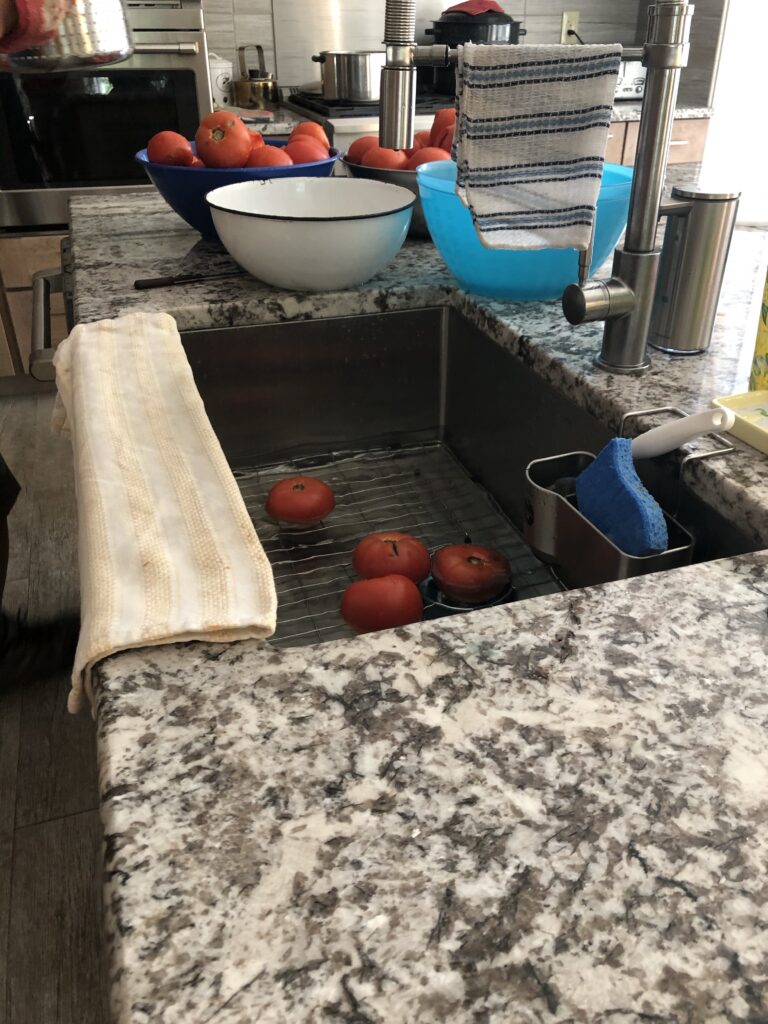
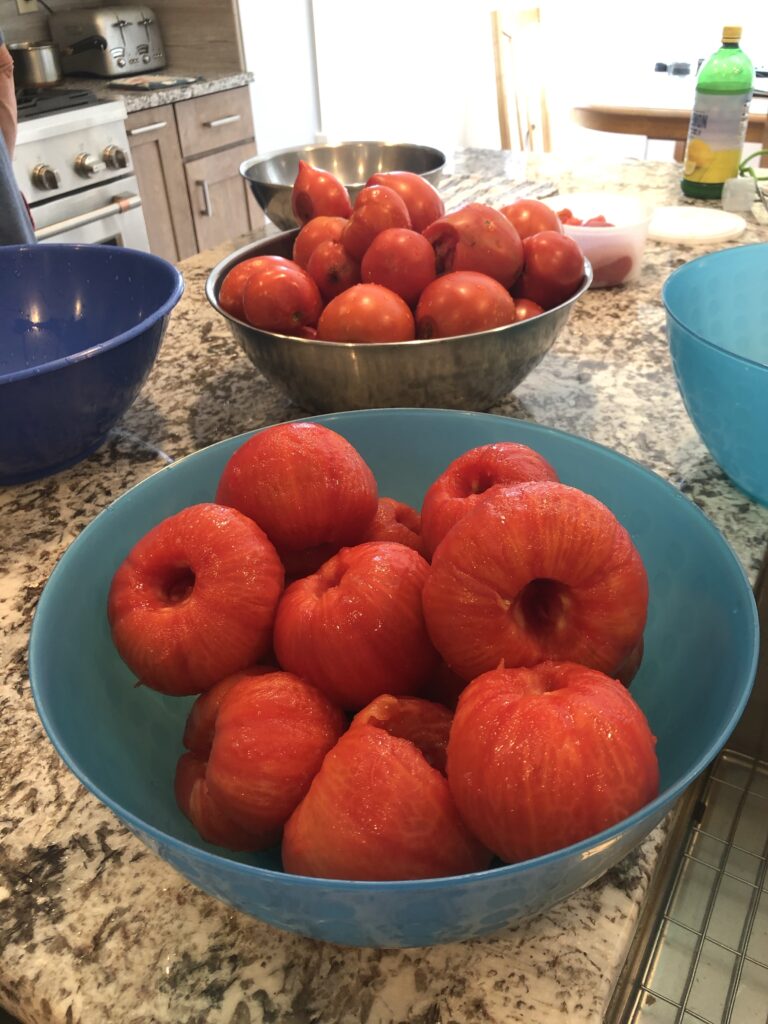
We tag team while Canning, it makes it go much faster. If you will be doing this alone, you will probably only want to do 25 to 50 pounds. While I am blanching, cleaning and coring my better half is removing the jars 1 at a time from the sterilizing pot and filling with the peeled tomatoes
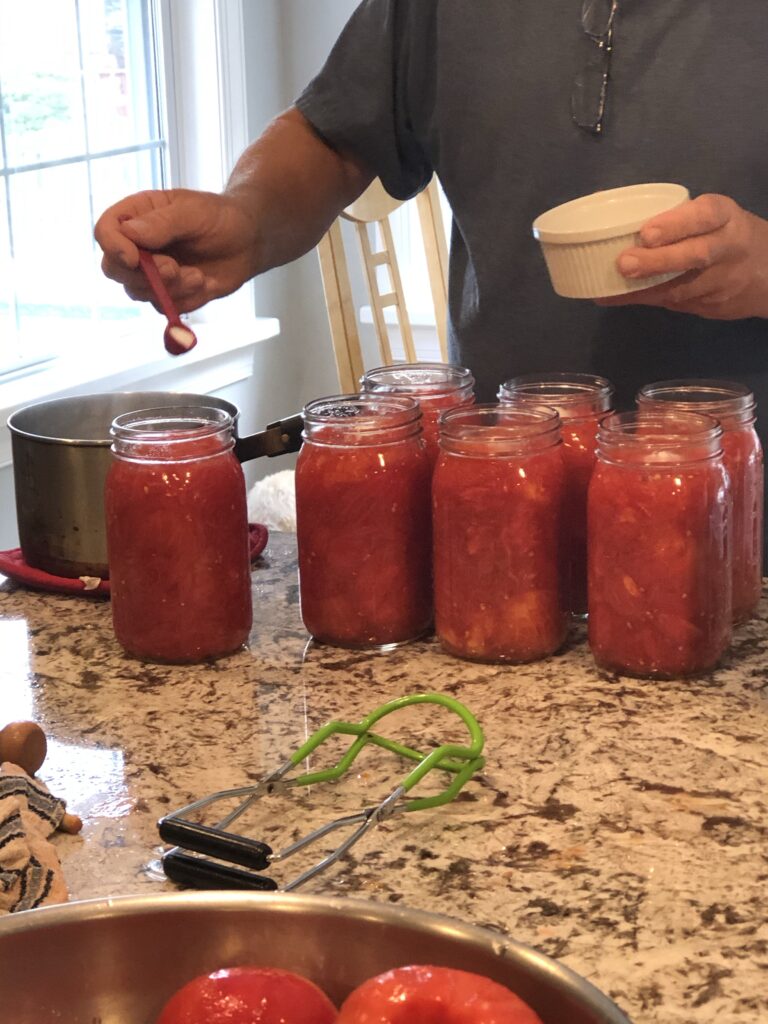
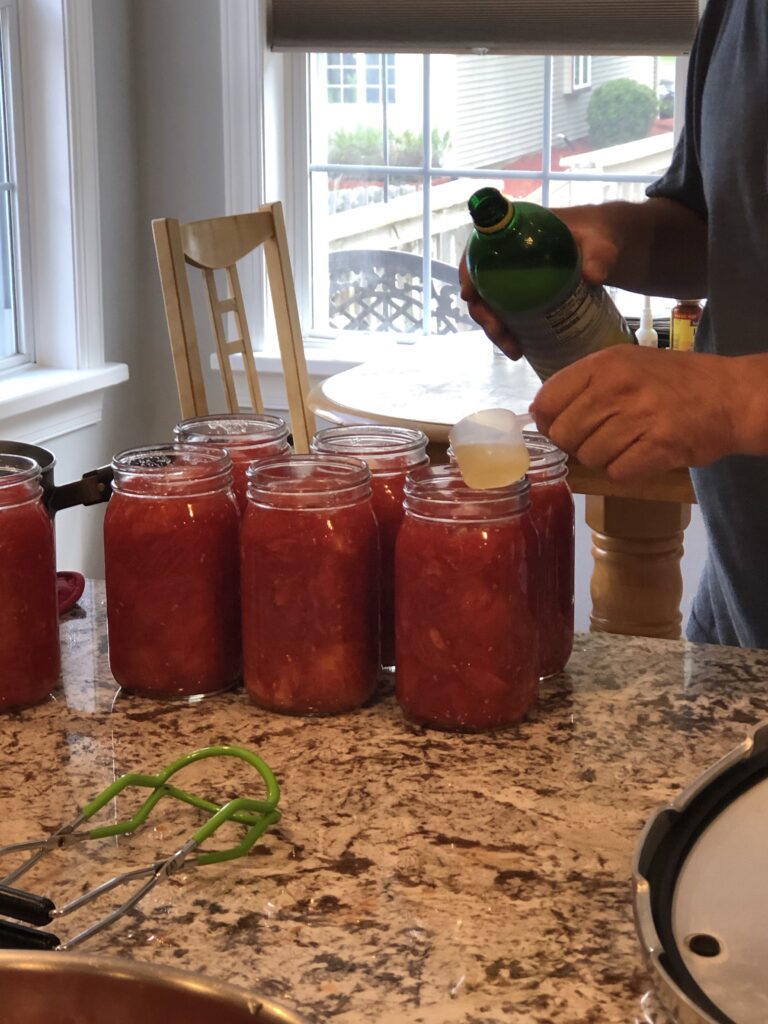
After the tomatoes are in the Jars, you will need to add the salt and lemon, these are your preservatives. We do not season our tomatoes until we are ready to use.
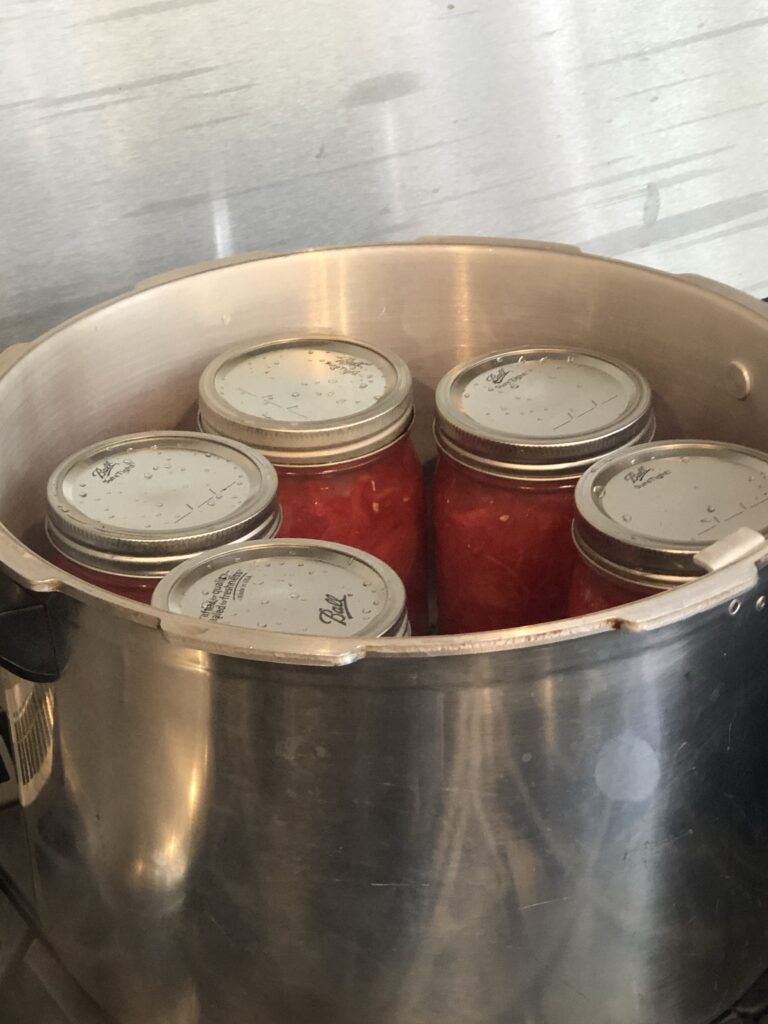
Now that all the jars are filled, you will put the lid and rim on and hand tighten, These will be placed in the Pressure Cooker, 7 quarts fit into our pressure cooker. This particular pressure cooker is a Presto, we purchased at Walmart a few years ago, it is a 16 quart pot. Again in the Ball Canning book there is a page dedicated to just equipment needed and descriptions along side each of them.
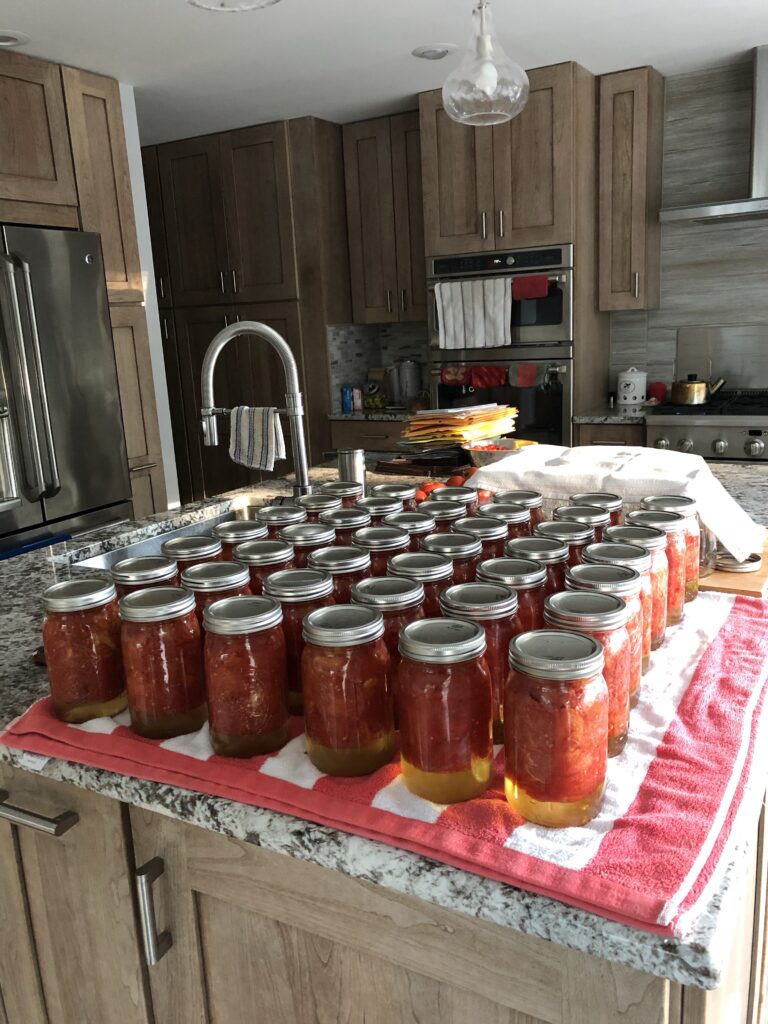
Once the pressure cooking time is finished and it has cooled and ready to open, you will remove the jars and set on the counter, this is when the jars will seal so once you have placed them don’t touch or move. They will sit for 12 hours and then you can remove the rims and clean the jars.
I hope this Blog inspires you to take a leap of faith and try your hand canning. Part 1 was all about canning tomatoes, If you are interested in making some homemade Jam, join us in the coming days to see how easy it is to make Peach Jam.
I am always looking for great ideas to try and also to blog about, please leave a comment with your thoughts and ideas for the future. As always my final thought is that you and your family Enjoy the Journey as much as the final product…..
Today, I went to the beachfront with my kids. I found a sea shell and gave it to my 4 year old daughter and said “You can hear the ocean if you put this to your ear.” She put the shell to her ear and screamed. There was a hermit crab inside and it pinched her ear. She never wants to go back! LoL I know this is entirely off topic but I had to tell someone!